Showing posts with label basic project. Show all posts

Friday, December 5, 2014

Friday, March 21, 2014

Past Crochet scarf projects


Here I am wearing a cute red scarf I made, following the directions I found HERE at Redheart.com  (My son was goofing around with my camera- taking random pictures- as I was deleting them... I noticed, my red scarf! Now I don't have to use my bathroom picture!)

This is a fun scarf to make- and simple! I only know two things about crocheting- a single crochet and a double crochet. I have made this scarf 4 times total. One in red, I kept for myself. One in purple- I gave to my sister two years ago for Christmas. Last year I made 2 more, multi-colored scarfs and gave them to my mother and my grandmother for Christmas.

Wednesday, March 12, 2014

Project: Adorable Upcycle apron

Remember the bag I made out of some beloved jeans?
It was time to accept that they just aren't ever going to fit again. (sniffle) I'm over it.
Really-
I better be over it- because the jeans are no longer intact!
 
Now they live on as a really cute bag ...
 
 
But I have the top half of the jeans left. Not wanting to waste-  I looked for another project.
I found this cute apron!

click here to see the original tutorial- at Life Made Creations.

I thought this would be a WONDERFUL project to do with my daughter-for-the-week.

Monday, March 10, 2014

Finished Project: straight skirt

Straight skirts- you can find them everywhere! Here is a little number I saw at Walmart this morning. $21? When straight skirts are so easy to make! No need to buy- I found some cute fabric on sale for $1.50 a yard! Perfect for someone learning to sew.

I modified my skirt from the tutorial that I shared on Friday.  Instead of two side seams, I just made a tube- having only one back seam.
I started by measuring my widest part. (I don't want my skirt to be too tight around my thighs.)
 
 
The fabric is folded in half- so I cut my measurement in half but added back an inch for my seam.
I also measured how long I wanted this skirt plus an inch for the hem.
I stitched up the back seam (so it would lay flat and not bubble over my butt), and then folded over the top- to make a casing for the elastic.
I measured my waist and that was the length of the elastic to this measurement.
Super simple skirt!
Fast and straight stitches- right in my comfort zone!

Cute-  but maybe too much in my comfort zone?
I mean... I want to learn to sew.. using patterns.
So my next project is going to be with a pattern! (gulp)
There! I've committed myself!

 
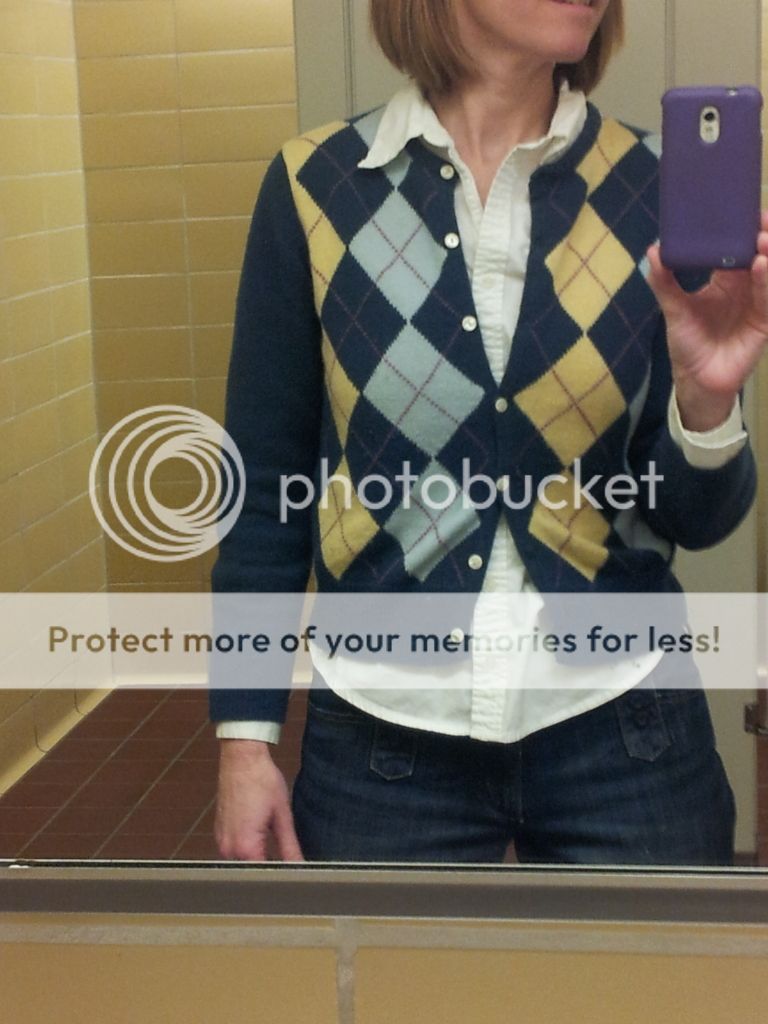
Here I am at work.  I am trying to be better about taking pictures out and about-
and not sneaking around in bathrooms snapping pictures.
(But no promises- you might see more pictures in bathrooms.
You've been warned.)


Friday, March 7, 2014

Inspiration: Simple Pencil skirt

I've made two of these types of simple skirts. Merrick is so adorable and her restyles- seem simple enough.

Here she shares a tutorial on how to make a simple skirt.

These are so cute! And really a great simple project for the beginner seamstress.
This might be a project I tackle with my "daughter-for-a-week".
We'll see if she is interested in learning how to sew.
 
It just seems silly to buy this type of skirt. Pay $20? or more? what for?
Thanks Merrick for your cute re-styles and great tutorials!

Monday, March 3, 2014

Sewing Project: Reversable Bag

I have needed a new "scripture" bag for months... maybe a year. My cute bag I used in Hawaii- gave up, and broke down. :0( It didn't like the transition to Utah climate.

I found a really cute tote pattern at Joann.com. You can see it here and download the pattern!

I decided, after looking at the pattern, I might need to find a easier pattern. I wanted to use supplies I had on hand- and I don't have any batting required for the Zest Tote. (Although it is adorable!)

So I found a great bag, with a wonderful tutorial by Very Purple Person, she even provides a free pattern to download! (Click HERE)


Happily this pattern fits perfectly on the boot cut portion of my jeans I wanted to re-purpose into my new scripture bag.
 (Cute jeans- right? Sadly they don't fit.)


I followed the pattern.
I read and re-read the tutorial.
It was a great/fun project that took me about 6 hours from start to finish.
 
One side is sturdy denim

The other is made from extra curtain/couch pillow fabric- lol!


Sew so cute! I would highly recommend this project for a newbie.

Tuesday, February 25, 2014

Brown Version

These cozy - knit/stretch dresses are so trending now!
I can't wear stripes at work- but I love, love ... love this time of dress.
But why buy one... for $30 when you can make one for about $12?


That cute blue dress (can see HERE)-- was so easy, so comfy and so fast to sew!
So I made a second!
It's just brown.
kind of boring.
When I bought the fabric- I thought maybe that was too safe?
(I really like patterns- but I am gun shy- in picking out a patterns. Especially one that will work- at work, as an ASL interpreter.)

I am glad I made a solid brown dress.
It is a neutral - that will look great with many of my cardigans.
I can see wearing this and the blue dress a lot!
Did I mention how comfy it is?
It's like wearing cozy pajama's to work! Except- I don't look like I am wearing pajama's.


I cut the dress- exactly the same as the blue dress. (YES! the front is cut smaller than the back- lol)
Besides that goof-up,  I had modified the pattern to accommodate my smaller top half-- to my larger bottom half...
 
This time- when the pattern with fabric was cut out...
I placed the top piece over the bottom and lined up the silhouette's. I made sure they were the same. (trimmed where the shapes didn't match up)
That took care of the bubble- problem I had with the blue dress.
 (so glad I figured out the problem.)
 
Sleeves are the same as the blue dress.
 
So cute! I love this pattern. But I am going to limit myself to 2 dresses.
I feel like I have conquered this pattern.
(I might make another one in the future- a striped dress? Wouldn't that be fun for summer?)
 
I need to move on... continue on my path- of learning how to sew.
 
Buttons next! (gulp)
Ready or not...
Here I come!
 

Sunday, February 23, 2014

Project Sewn: Blue Dress Success!

This week's challenge at Project Sewn- was to sew something that was our strength.
Since I am new to sewing- I don't consider myself as having many sewing strengths.
 
 
I learned a great tip on this project.
Don't cut your fabric out- while watching the Olympics!
I wanted to alter/tailor the pattern to my body.
My measurements said I was a size 8 top and 12 bottom.
(I am a classic pear)
I started cutting- and the dots and dash lines that distinguish the different sizes- became blurred.
Who knows what I cut! But I know the top layer was cut smaller than the back layer.
Since the fabric is a interlock knit, I thought it might be forgiving enough- to proceed with the project. (Even if the side seams aren't going to lay- exactly CENTER on my sides because the back part of my dress is wider and longer than the front side of my dress.) lol
 
Here is the finished version.
Can you see it "bubbling" on the right.. on my hip? Yeah I need to work that out.
 
I don't plan to wear this dress- without a sweater or jacket over it. I just wanted to show you the finished dress- without embellishments.
 
I love the color combo of Royal Blue and Light Blue/Turquoise.
(I've had this belt for probably 4 years- and have NEVER worn it. This is why I have a hard time getting rid of anything... because I just might wear it- ya never know! )
 
I didn't really wear this outfit with the scarf.
( I mean- Yeah- I wore it outside with my coat..
but I took the scarf off with my coat, when I was working.)
 
but I wanted to show you.... these are my favorite colors and color combination.
I am drawn to these colors! They make me happy!
 
 
And I just have to show you a close up of the neckline- Great job on the top stitching - if I do say so myself!

Now.. I need to fiddle more with the bubbling side seam... sort that out so it lays flat. But over all.. I am very pleased with my first dress sewn!

Wednesday, February 12, 2014

Seeing RED: Success!

Remember this big red shirt? (complete with shoulder pads?)
 
I tried to re size it and in the process, created this "elephant ear" shirt. Not flattering at all!


I got some great advice from the blogging/sewing network!
(I went to the fabric store- to try and find more fabric, I couldn't find a red, but I found some cute polka-dot fabric.)
I started sketching- and trying to incorporate the two fabrics.
After sketching- I realized I really just want a cute RED- shell shirt.
(I was worried that using the polka-dot fabric. That this project would turn to clown costume.)

I was a little skeptical about using another shirt as a pattern (because of my DIY fail here), AND because I didn't have another "shell" shirt to pattern off of.
So I took a baggy T- shirt- that had a nice shape.

I felt a little better about the idea, when I saw that the T-shirt followed the sides I already fit to myself. I used the green shirt to cut/re-size the arm holes of the red shirt.
I used the green shirt to also re-size the sleeves.
Yay! It is cute and fitted and I left it long- so when I tuck it in... I won't have to constantly be tucking it back in- if ya know what I mean....

I am so happy!
A success story- to this cute shirt.

Can I say, I love my seam-ripper! I love that when I mess up- my little seam-ripper can make it all go away... and I have a second chance at it, to get it right, or a third time, or fourth, etc... you get the idea.

Here is the polka-dot fabric. Cute right? But do you see how it could be clown-like? I only bought 1/4 of a yard. I hope to be able to use it.

Wednesday, February 5, 2014

Project Sewn: Week One- Attempt 2

I just couldn't leave the first challenge that way- with a DIY Fail. It just left such a bad taste in my soul.... my little, budding, sewing soul...

And especially- when the challenge was to be inspired by a fashion icon- my favorite!
Princess Kate!

So back to Pinterest to find a picture of something I could sew!

I won't make you wait for it. This is the cute skirt I made- inspired by this image of Kate.


I couldn't find the red tartan fabric.
I could find this flannel fabric.

Yes this is a flannel skirt- reminds me of my flannel pajamas growing up! I can see this quickly becoming my favorite skirt.


The reason I labeled my project: Braveheart Inspired on Project Sewn is...
as I was sewing this skirt, my husband walked into the room and asked,
 "Are you going to unite the clan?" Braveheart is his favorite movie- all time, so I knew exactly what he was referring to. lol.

It helped me giggle my way through the project until the skirt was finished. All the picking out and pinning etc. I mean, for an experienced seamstress.. this is probably an hour-project not two days.

After looking at some other people's projects on Project Sewn, especially Kristi (click here), I thought I needed to add lining to this skirt.. lining really makes a sewing project seem more professional and less home-spun. Also, I thought lining will help this skirt hold it's shape better (since it is made out of flannel) and not bunch up when being worn with tights.

I have never, NEVER ever lined anything!  Since this skirt is just a tube...I thought I would be able to handle it.
 
(Spoiler Alert: This is extra fabric from a future Project Sewn assignment. )

Look at the hem! no.. really LOOK AT IT! I did a dang good job!
My son helped me with the pictures, he said "Why are you standing like that?"

I don't know what I am doing?... awkward model syndrome.
 

Besides the awkward photos- the skirt turned out cute! (and comfy!)

I love /live for comments - they really help me stay positive as I try to learn how to sew.
So thanks for taking the time!
Laura

Mending

This is one of my favorite sweaters that I bought on that panicked trip to DI to buy warm sweaters last winter. I love that it is wool! It is so warm- and cute too.

Today I pulled it out of the dryer and I noticed small holes!
(One perk to buying clothes second hand- things never shrink in the wash.) But that doesn't mean you don't find other surprises.


I really love this sweater- it has been a trusted friend in keeping me warm this past year and a half.
So I decided to apply the old pioneer motto:
"Use it up
Wear it out
Make it do
or do without"

by mending the sweater. I've never done this before so we'll see how it weathers during wear and washing. But I think it turned out well!


I found some scrap fabric in a similar color and placed it on the inside of the sweater.
Then took similar color thread and stitched "in the ditch" of the rows of knitting.


Can you see the patch job? (it is up by the collar)
Not too shabby if I do say so myself!


(and YES! (exasperated) this is another bathroom!)
I know.. I know.. I promised..
 
Do you see that baby blue in the sweater? I love that color. This week anyway. lol

Monday, January 13, 2014

Past Peach Dress Project


I found this dress thrifting a few months ago. This peach dress- use to be ankle length. It fits in the waist and shoulders and I thought this would be a simple dress to hem.


It was a little tricky- the fabric was really slippery. So I ironed on some type of binding tape- but that made it really sticky. I can't remember what I used... maybe it was  no sew hem tape- but that didn't stick very well, so I ended up putting a hem in with my sewing machine... and the sticky tape gummed up my needle.

It is fine- I haven't worn it yet. I see it more as a Spring dress, maybe paired up with a jean jacket. I can't wear it to work- so the hem is fine for just romping around.


Monday, January 6, 2014

Project: Peplum Finished.

So I just jumped in and took the plunge. I took  scissors to my cute black shirt and cut the bottom off of it!

(Well- first, I put it on and measured how much I wanted to take off. Where I wanted to peplum to start. I've seen some peplum shirts and the skirt part starts too high for my liking.)

I watched the youtube tutorial- thankfully I wasn't resizing the Tshirt too.
Natalie does a great job explaining how to turn a regular T- into a cute Peplum.

I got a moment of panic- because a wise woman would have practice on a not-so-favorite shirt first.
I warned you I am very impulsive.

I had to cut two shirts. The peplum skirt part came from a baggy t-shirt I bought from the target sale rack- $3! I didn't want to spend anything on this project.. I was going to use a different shirt, but they were different fabric. The second Tshirt was a thicker cotton.

 I thought ... $3 was worth it.
My goal was to have something wearable at the end.
And I knew- the old shirt just wouldn't look right or drape right.

The only thing I thought was missing from Natalie's tutorial was she didn't run a straight stitch and gather before adding the skirt part to the shirt. (To insure a nice even gather) So I added a straight stitch- you can see the light color bobbin thread.

um.. I guess lesson learned: jersey doesn't gather with a straight stitch?
My thread wouldn't budge at least. So I abandoned that idea and just pinned it as Natalie suggests.


I did like having that light stitch line to follow- as I zig-zagge these together..

 It turned out so cute! I can't wait to wear it to work!
 
 
This is a great beginners project!

I know...I know... I promised NO BATHROOM pictures..
but I really like these headless shots- I just wish the photos weren't such poor quality.

Tuesday, January 11, 2011

Happy New Year!


I know
I am a little late- on wishing everyone a happy new year.

I've been busy!
I made a totally adorable ruffle shirt- out of a T-shirt!

I found this idea HERE
she has great ideas on how to extend the life of clothing- especially for FAST growing young kids.

But my project was a white T-shirt...
actually it had a stain on the front too!
(because I really am just a big kid myself.)
I added a white ruffle down the front- but modified it a little.
My ruffles- only go half way down the shirt....
not all the way to the bottom seam.
It turned out REALLY cute.
Also I've been obsessed with flowers on shirts and sweaters.
We spent Christmas in Utah - where all things are FAD and FASHIONABLE and it seemed EVERYONE had some type of flower or ruffle shirt-- except me!


I'll post more-- later promise.

I just wanted to acknowledge-

It's a new year.I was a complete slacker - in December (as far as posting/blogging)

BUT I am back on board...
so let's dust off our Personal Progress books
and get crack-a-lacken!
OH- PS
So here I am - in the bathroom... taking a picture of my outfit... that I wore to interpret... (notice the ruffles on my shirt?).
I am interpreting a different class... so you will get pictures of different bathrooms now...
BUT- I snapped this quickly- and then realized there was SOMEONE IN THE BATHROOM STALL>>>
how creepy is that??...
to be using a bathroom and
hear a
{click}