Showing posts with label restyle dress. Show all posts

Friday, December 5, 2014

Friday, February 28, 2014

Resized: Blue Dress

Merricks Art: does it again. This time she used a easier way to re-size a dress- I really want to try. You can see her tutorial here.


How cute is that!? 
She found the dress on the sales rack of Old Navy for $12!
Learning how to do simple tailoring/sewing really can save you lots of money!
(And you will always have cute clothes that fit you!)
Love this idea... you can be thrifty and still be stylish- without spending a lot of $$.

Wish I had known some of these skills as a poor college girl... young mother...etc.. but better late than never! It is always a great time to jump in a start saving money!

Tuesday, February 25, 2014

Brown Version

These cozy - knit/stretch dresses are so trending now!
I can't wear stripes at work- but I love, love ... love this time of dress.
But why buy one... for $30 when you can make one for about $12?


That cute blue dress (can see HERE)-- was so easy, so comfy and so fast to sew!
So I made a second!
It's just brown.
kind of boring.
When I bought the fabric- I thought maybe that was too safe?
(I really like patterns- but I am gun shy- in picking out a patterns. Especially one that will work- at work, as an ASL interpreter.)

I am glad I made a solid brown dress.
It is a neutral - that will look great with many of my cardigans.
I can see wearing this and the blue dress a lot!
Did I mention how comfy it is?
It's like wearing cozy pajama's to work! Except- I don't look like I am wearing pajama's.


I cut the dress- exactly the same as the blue dress. (YES! the front is cut smaller than the back- lol)
Besides that goof-up,  I had modified the pattern to accommodate my smaller top half-- to my larger bottom half...
 
This time- when the pattern with fabric was cut out...
I placed the top piece over the bottom and lined up the silhouette's. I made sure they were the same. (trimmed where the shapes didn't match up)
That took care of the bubble- problem I had with the blue dress.
 (so glad I figured out the problem.)
 
Sleeves are the same as the blue dress.
 
So cute! I love this pattern. But I am going to limit myself to 2 dresses.
I feel like I have conquered this pattern.
(I might make another one in the future- a striped dress? Wouldn't that be fun for summer?)
 
I need to move on... continue on my path- of learning how to sew.
 
Buttons next! (gulp)
Ready or not...
Here I come!
 

Sunday, February 23, 2014

Project Sewn: Blue Dress Success!

This week's challenge at Project Sewn- was to sew something that was our strength.
Since I am new to sewing- I don't consider myself as having many sewing strengths.
 
 
I learned a great tip on this project.
Don't cut your fabric out- while watching the Olympics!
I wanted to alter/tailor the pattern to my body.
My measurements said I was a size 8 top and 12 bottom.
(I am a classic pear)
I started cutting- and the dots and dash lines that distinguish the different sizes- became blurred.
Who knows what I cut! But I know the top layer was cut smaller than the back layer.
Since the fabric is a interlock knit, I thought it might be forgiving enough- to proceed with the project. (Even if the side seams aren't going to lay- exactly CENTER on my sides because the back part of my dress is wider and longer than the front side of my dress.) lol
 
Here is the finished version.
Can you see it "bubbling" on the right.. on my hip? Yeah I need to work that out.
 
I don't plan to wear this dress- without a sweater or jacket over it. I just wanted to show you the finished dress- without embellishments.
 
I love the color combo of Royal Blue and Light Blue/Turquoise.
(I've had this belt for probably 4 years- and have NEVER worn it. This is why I have a hard time getting rid of anything... because I just might wear it- ya never know! )
 
I didn't really wear this outfit with the scarf.
( I mean- Yeah- I wore it outside with my coat..
but I took the scarf off with my coat, when I was working.)
 
but I wanted to show you.... these are my favorite colors and color combination.
I am drawn to these colors! They make me happy!
 
 
And I just have to show you a close up of the neckline- Great job on the top stitching - if I do say so myself!

Now.. I need to fiddle more with the bubbling side seam... sort that out so it lays flat. But over all.. I am very pleased with my first dress sewn!

Friday, February 21, 2014

Fitting a pattern

Okay for the last Project Sewn next week the theme is "signature style".
 Make something that is my strength. I kinda did that already on my flannel skirt. (click here) Tube skirts I would say are my strength. So instead of sewing another one- I thought I stretch myself.

I bought a simple pattern on sale- $1.99! (love that!) And the fabric that matches this pattern was also on sale 40% off at JoAnn Fabric. (I will admit. I kept those two elements in mind when I was looking for a pattern to buy.)

This pattern is a fitted, knit/interlock fabric dress. Simple construction, no zippers and such. I am a little scared because I don't normally wear "fitted". But I thought having a simple shell dress that I can wear my cute cardigans with, might be a great staple in my wardrobe.

I found a great youtube video - on how to fit a pattern.
I really want to learn how to do this- so when I sew my fabric together- there isn't major re-constructive surgery going on. A little tweaking is fine- but I don't want to have a bag- that I have to form fit to my body.
(or worse yet- there isn't enough fabric to tweak with in my hips area!)

For this pattern, my body measurements said I was an 8 for my bust area and a size 12 in my hips. (I told you- I am a classic PEAR) Instead of buying two different patterns, I bought the size 8- but enough fabric for the size 12 so I can alter the pattern myself in the hips and have enough fabric to do that.

Thanks Joy Bernhardt for such a clear- easy to follow tutorial!

Wish me luck! I will show you my finished project on Monday!!

Friday, February 7, 2014

Little Red Dress: Resize

Stumbled upon this amazing: Re-designer.
How cute is she?
You can visit her on her blog Merricks Art. Here's the link to the tutorial about how she downsized this dress!

So amazing what you can do- when you know a bit about sewing and clothing construction!

What I love- is this process could take a few hours/ one day, while sewing a dress from scratch would take me a week at least, or month more likely.

I am working on my project for Mondays Project Sewn.
The theme for next week is "Think Pink".
I found some fabric on sale at Walmart and thought about making a cute skirt.

 
I love skirts with inset pleats. I thought it would be cute with contrasting fabric.
("I bit off more than I could chew" in attempting that. I can't alter patterns yet. I need to remind myself- babysteps! first learn how to sew with a pattern! lol)
 

To add insult to injury, the fabric scorched when I tried to iron it.
But to be honest- at this point I was questioning my skill in picking out fabric! I mean... flowers and polka-dots? Am I 5years old? When I watch project runway-- I am always amazed at how they can mix and match patterns. (I am not very confident at wearing any patterns- let alone mixing patterns!) What was I thinking???

Anyway- the casualty count goes up by one more.
This is like a twisted mystery novel... where one by one... guests die, or in my case articles of clothing are destroyed. I try not to get too discouraged...
Your supportive comments really help!


Monday, February 3, 2014

Fashion Icon Challenge

I never never NEVER find these types of challenges, while they are happening. I was so excited two days ago when I saw Ladybird post about this Project Sewn challenge that was starting today!
 
I just had to play along.
 
I am determined to fashion a working/functional wardrobe. I am not going to keep clothes I don't love- anymore! Life is too short. ( And my closet too small ..HA!) So I am being fearless this year. I am reconstructing my clothes to fit me and be fashionable... or it is being destroyed in the process ... and can no longer hang in my closet.
 
Today, the challenge was be inspired by a fashion icon.
 
 
I picked Kate Middleton.
 
 
I love this color palette. Baby blue and brown. So cute right?
I have a brown skirt- that I love. I thought I would try to make a cute baby blue top inspired by this blazer.
 
I don't have a cute blue blazer- but I did have a baby blue linen dress. (That I loved, back in the day, before I got rust stains on the skirt. I haven't worn it in years. But haven't been able to toss it.)
 
I seam ripped the sleeves off and cut some length off.
 
Then using a tip from Kristina's book/blog- I cut new sleeves. (I want longer sleeves.)
 
 
Things were going along... fine. The sleeves turned out! That was a happy moment in the project.
I wasn't too happy about the shape of the shirt. It is looking pretty maternity.
 
So, I thought I would move along to the detail- that I loved from Kate's jacket. The brown collar.
 
 
I had some brown/tapestry type of fabric- and added to the collar of this shirt.
I'll let you judge for yourself.
 
 
This project turned out pretty home-spun.
 
This is pretty bad... but I just had to laugh. I wanted to play along so bad on the Project Sewn Challenge... but I am a DIY baby. I am still learning. Kristina warns in her book- that when adding elements to clothes- they need to look like they belong. This collar- sticks out. I mean, if the shape wasn't so horrible- I maybe could save this shirt by adding brown big buttons, etc.. but I am tossing in the towel. The shape is just too wrong- for what look I was going for.
 
Lesson learned? Shape matters!
 
My husband did a double take- from watching the super bowl and said, "That's not your blue dress-- is it? I LIKED that blue dress!"
 
ah. yeah...
There are going to be casualties in this "learning to sew" goal.
 
(I didn't hem the sleeves-) But I am proud that I was able to alter/modify the sleeves.  (If I am trying to see the positive side of this DIY failure.)
I can't wait to see everyone's amazing creations for this challenge!
 
casualty count: 2
Kristina said she had about 37 clothing items die in her learning process. I am giving myself an even 40. If I learn to sew, and create a wardrobe I love and loose less than 40 items of clothing... I will have done a good job.


Monday, January 13, 2014

Past Peach Dress Project


I found this dress thrifting a few months ago. This peach dress- use to be ankle length. It fits in the waist and shoulders and I thought this would be a simple dress to hem.


It was a little tricky- the fabric was really slippery. So I ironed on some type of binding tape- but that made it really sticky. I can't remember what I used... maybe it was  no sew hem tape- but that didn't stick very well, so I ended up putting a hem in with my sewing machine... and the sticky tape gummed up my needle.

It is fine- I haven't worn it yet. I see it more as a Spring dress, maybe paired up with a jean jacket. I can't wear it to work- so the hem is fine for just romping around.


Tuesday, August 31, 2010

Skirt Challenge


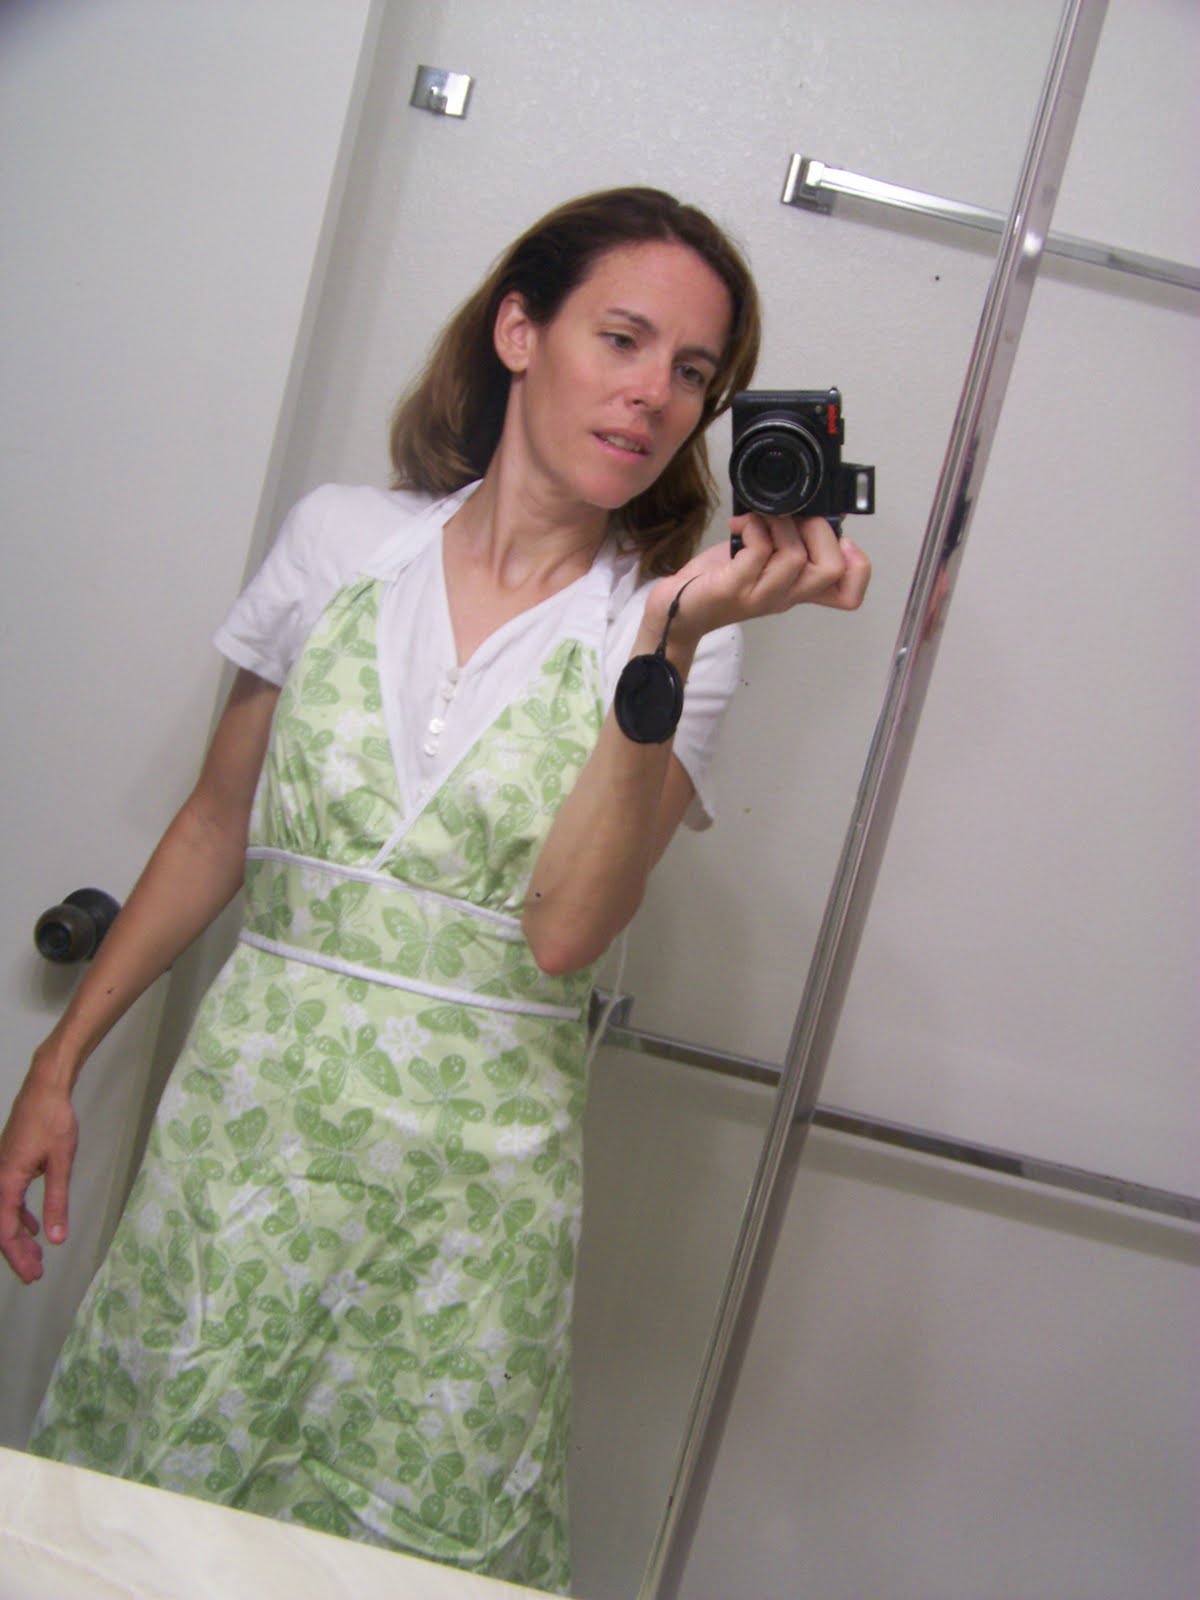
Here is a simple- so-so-sew simple way to turn a dress jumper into a cute skirt.

I bought this dress at a second hand store this past summer. I loved the bright-cheerful color and the playful pattern of the dress. (They are butterflies)

I also liked the A-line style of the dress... and the hidden zipper in the back. (This wont be just another elastic waist band skirt)


MAJOR problems with the dress:
1. I don't like the bust flaps. (and just between us-- I never can fill those kind of things out.)
2. I am not fond of this style dress. (Especially at my age)

So - to make my jumper/dress into a cute/ modest length skirt...
I simply cut those bust flaps off.

YUP
I didn't even take the dress off my body while I did it.

BUT- I recommend you take it off- while altering.

Then the raw cut edge- I turned down.
(I DID take it off at this point-- and I was super careful NOT to loose the zipper while taking it off.)

So I turned the raw edges over and used my sewing machine to sew a straight line. Starting at the zipper area.. sewing all around the waist area and back to the zipper area.
ONE SIMPLE SEWING LINE!


Then PRESTO!
You are done.
One cute skirt- ready to wear.


It is kinda hard to take pictures of myself..
But here I am at my sons soccer practice...


I love that the skirt is just casual and fun- I can just wear a T-shirt and slippers
and stay cool.


If you make a skirt from a dress- be sure to send a link to your blog so we can see how you did!

or- you can email pictures to
Laurabethblum(at)yahoo(dot)com and we'll all be inspired by your creation!